How To Create A Google Ad Account Like A Pro In 15 Minutes
Guide
You'll have access to your campaign dashboard and all the tools Google Ads has to offer by the end of this guide.


Former infantryman turned real estate investor & digital marketer. I enjoy discussing growth strategies and the technical sides of growing a business.
SOP Overview
Execution Time: 10-20 mins
Goal: To create a Google Ads account that is ready to start running your first campaign.
Prerequisites or requirements: None.
Why this is important: With over 3.5 billion searches per day and over 2 million websites on the Display Network, Google Ads is one of the most powerful channels to advertise to your audience.
Where this is done: In Google Ads.
When this is done: When you need to create a new account.
Who does this: The person responsible for paid search advertising.
P.S. This guide was pulled directly from our library of digital marketing SOPs (standard operating proceedures).
If you appreciate the level of detail and clarity in this information, check out our
project management suite.
Creating a Google Ads Account
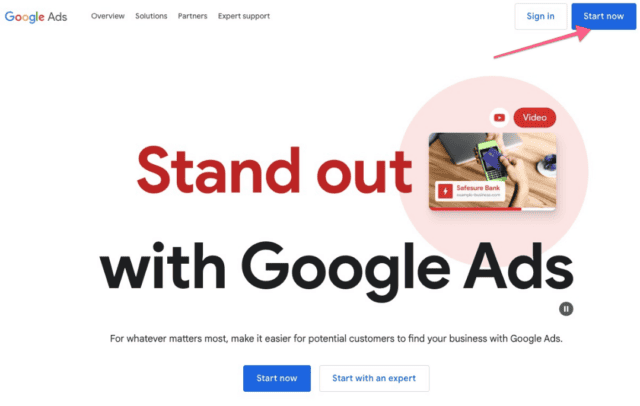
1. Go to https://ads.google.com/home/
2. Click on the blue, “Start Now” button:
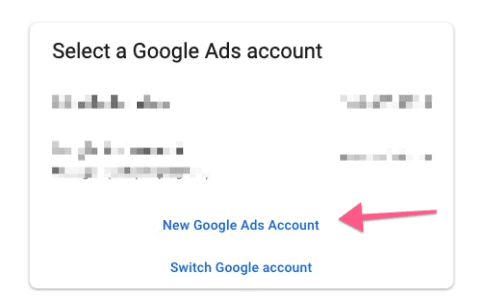
[Optional] If you already have other Google Ad accounts under the email address you’re currently logged in with, you will need to click “New Google Ads Account”
3. At this point, you will be presented with the default “guided setup” in which Google will try to get you to launch an ad from scratch.
We recommend skipping the guided setup because it will allow you to use other tools (e.g. Keyword Planner) to plan your campaigns.
- To skip the guided setup, scroll down and click on the link titled “Switch to Expert Mode”
- Next, click on “Create an account without a campaign”

4. Enter your business name and website, then click "Next".
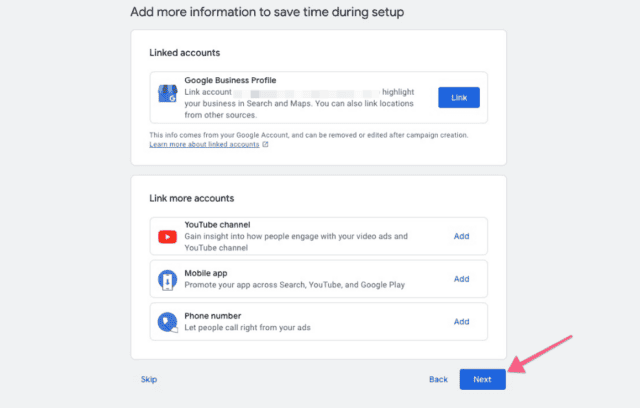
5. Next, link your Google Business Profile and click "Next".
- If you don't have a Google Business Profile, follow this quick guide to get started.
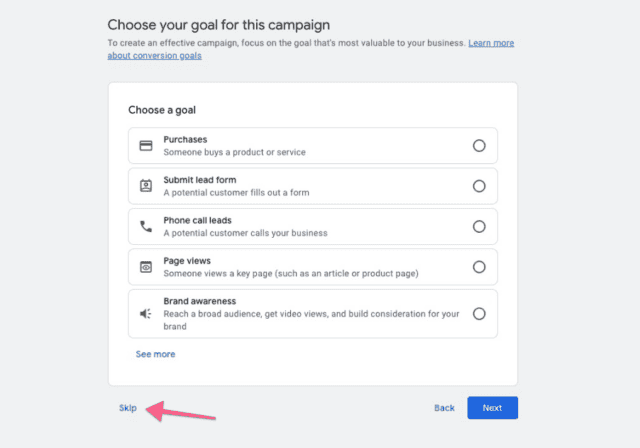
6. From here on, you're asked to set up the details of your campaign. We will skip most of these since we're mainly focusing on setting up the Google Ads account at the moment.
- Skip the goal of your campaign:
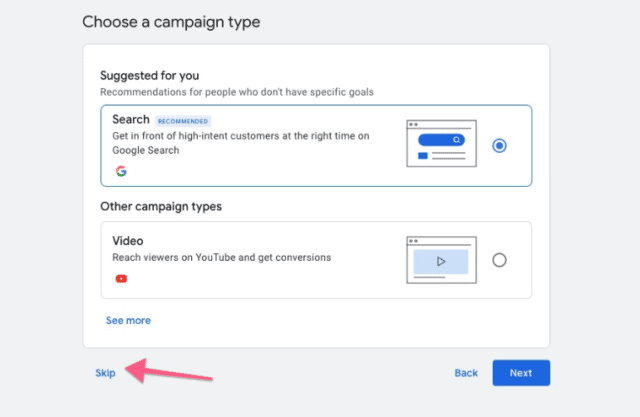
- Skip the campaign type:
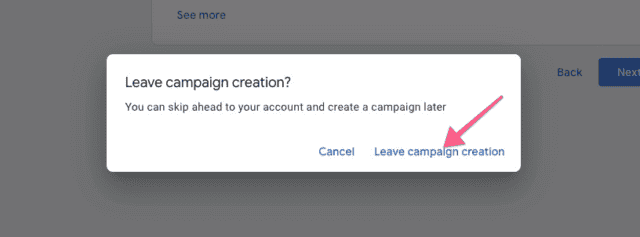
7. Now, exit the campaign creation guide by clicking "Leave campaign creation".
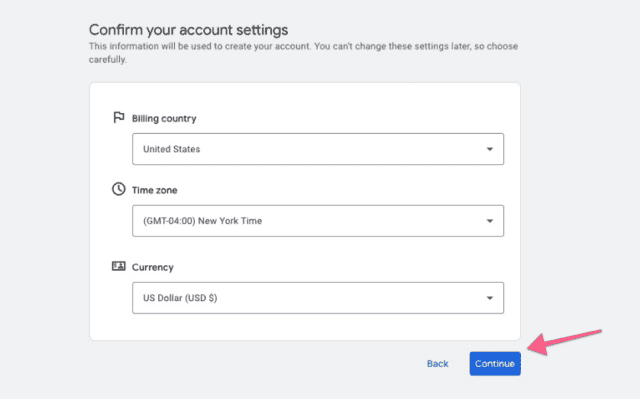
8. Next, fill in your account setting details like billing country, time zone, and currency and click "Continue".
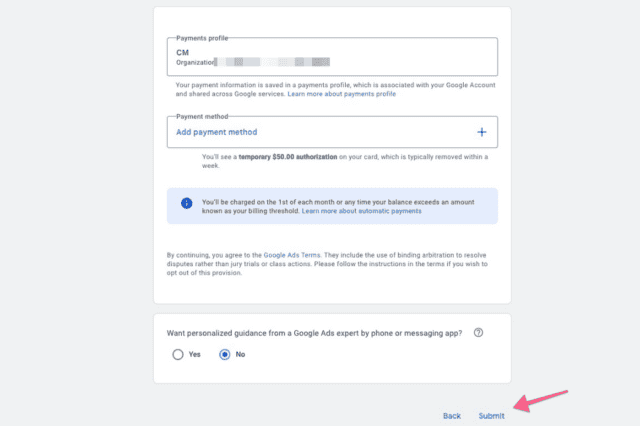
9. In the final step, add your payment profile and method (this is a necessary step to verify your account). Click "Submit".
10. That's it! You can now go ahead and explore your Google Ads account dashboard!
How To Enable Auto-tagging
Note: Auto-tagging is an optional but recommended Google Ads feature that will automatically add a parameter to your URL that will tell Google Analytics which ad the user is coming from.
This saves you the work of manually tagging each of your campaigns and saves you from potential human error while at the same time allowing for more detailed Google Analytics reports.
1. Go to https://ads.google.com/and log in to your account.
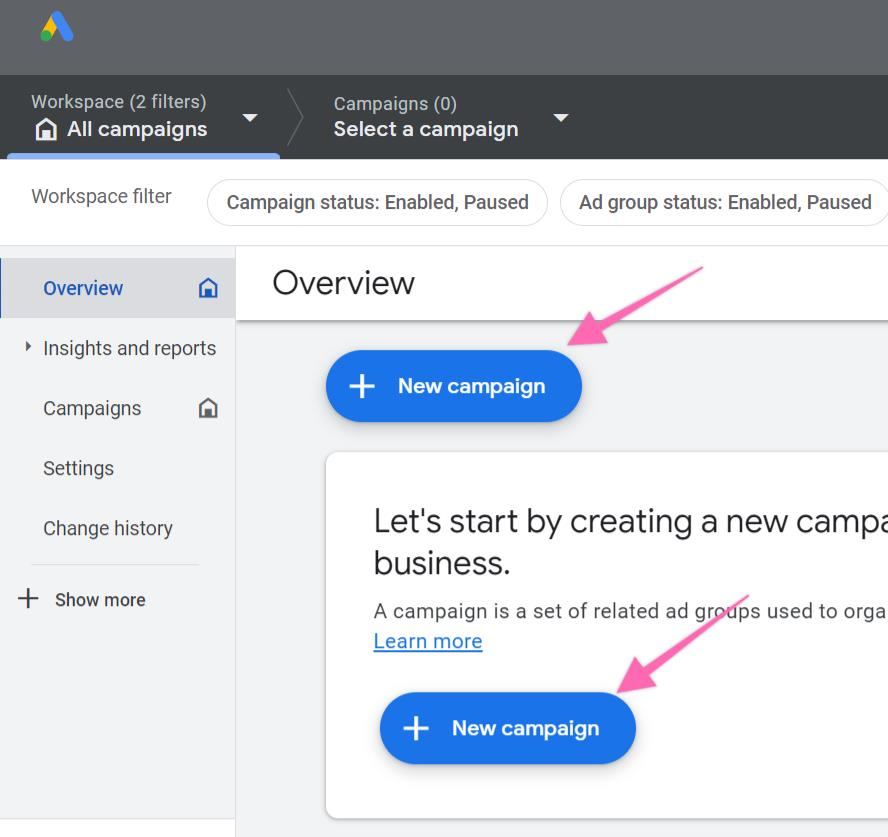
2. Before you can enable auto-tagging, you will need to create a dummy campaign (this campaign won’t be live and won’t spend any budget). Click on “New campaign”.
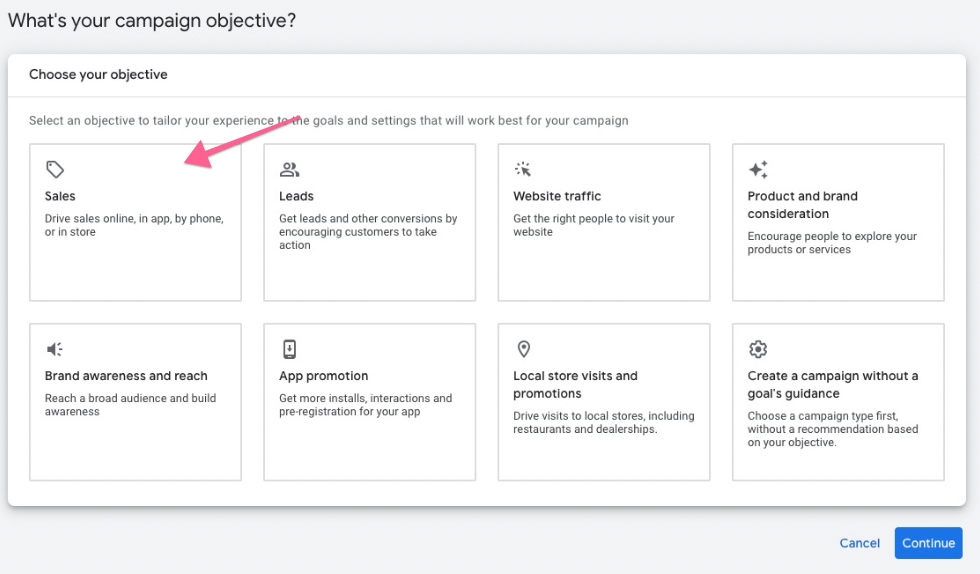
3. From the list of goals, select “Sales” and click “Continue”.
4. From the list of campaign types, select “Search”.

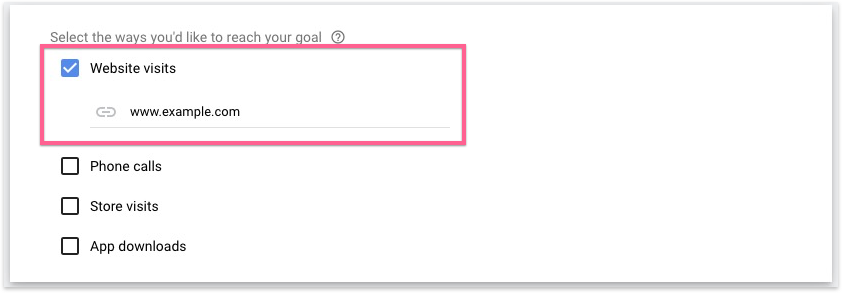
5. Next, select “Website visits” from the list and type your website URL.
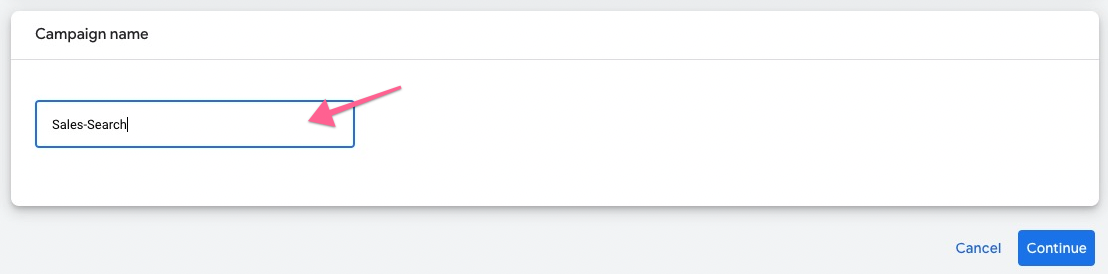
6. Then add your campaign name and click "Continue".
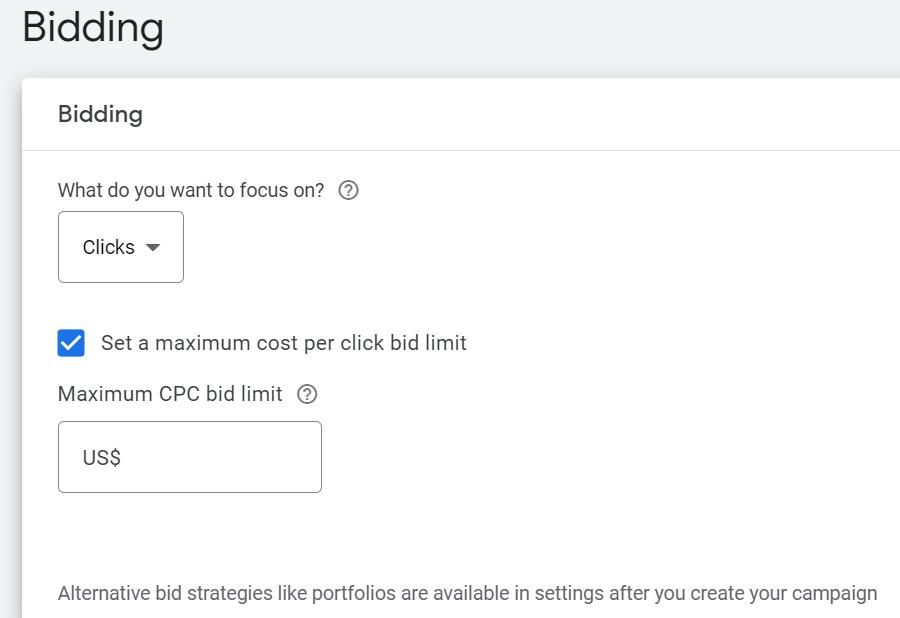
7. In the bid settings, click on the drop-down menu to set what type of bid you want to focus on. If you would like to set a maximum cost-per-click bid limit, tick the box below and enter an amount.
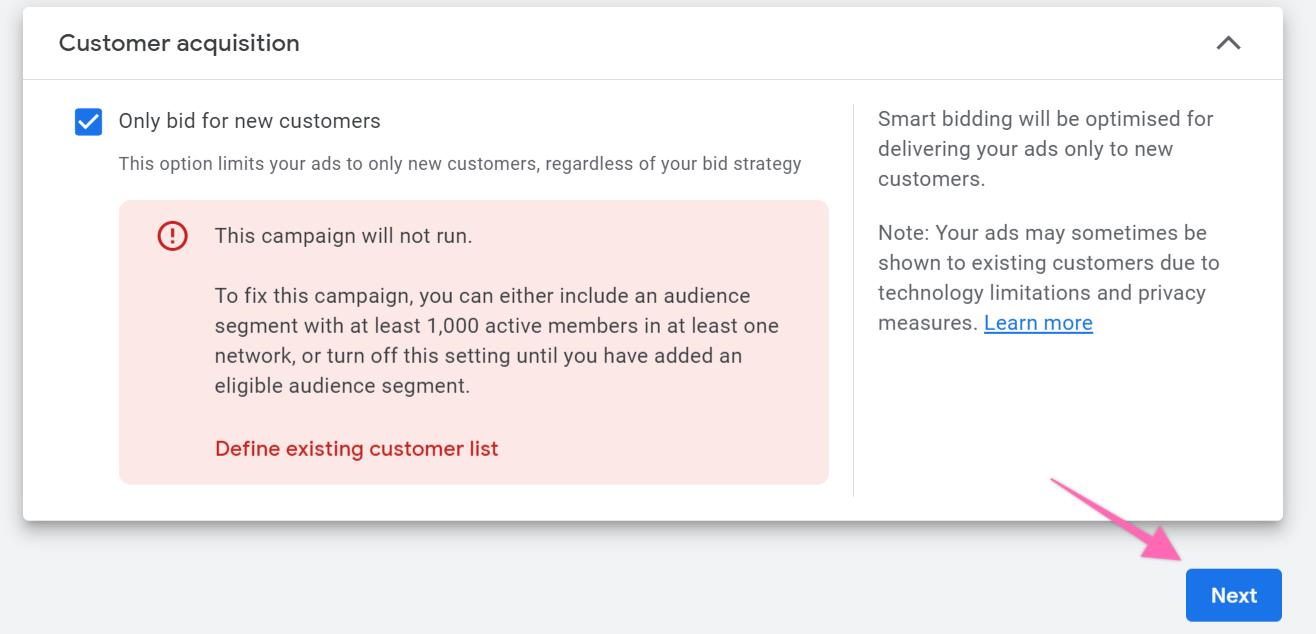
8. Next, under “Customer acquisition”, it is recommended to tick the box below to bid for new customers for your new campaign.
Alternatively, if you already have an existing customer list, you may leave the box empty and click “Next”. By default, your campaign bids equally for new and existing customers.
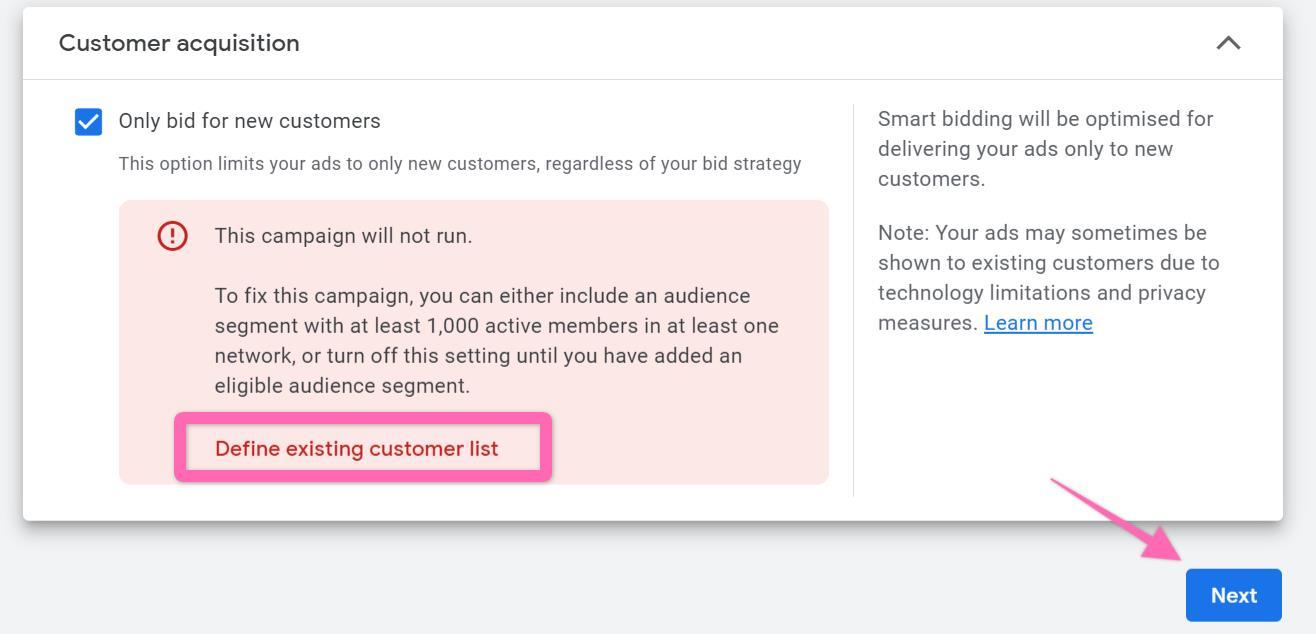
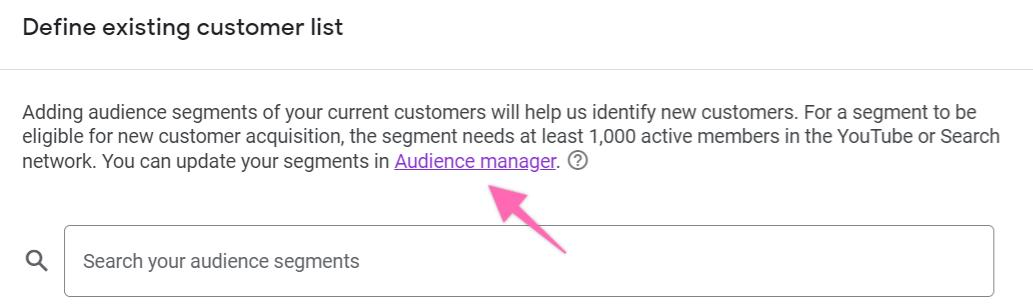
[Google Ads new update]: If you are new to Google ads and do not have an existing customer list or would like to target more new customers than existing customers, click "Define existing customer list".
9. Next, click "audience manager" and update your customer segments. You may refer to the type of audience segments here before following further instructions to edit your customer list.
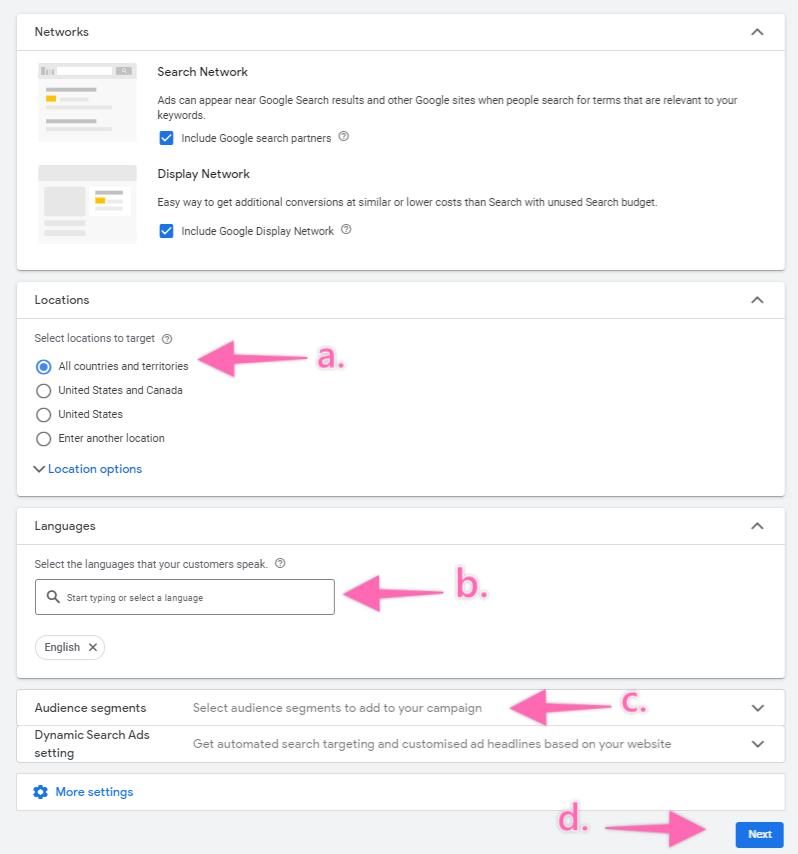
10. On the campaign settings page:
- Select locations to target.
- Select the language that your customer speaks.
- [Optional] Select audience segments.
- Click “Next”.
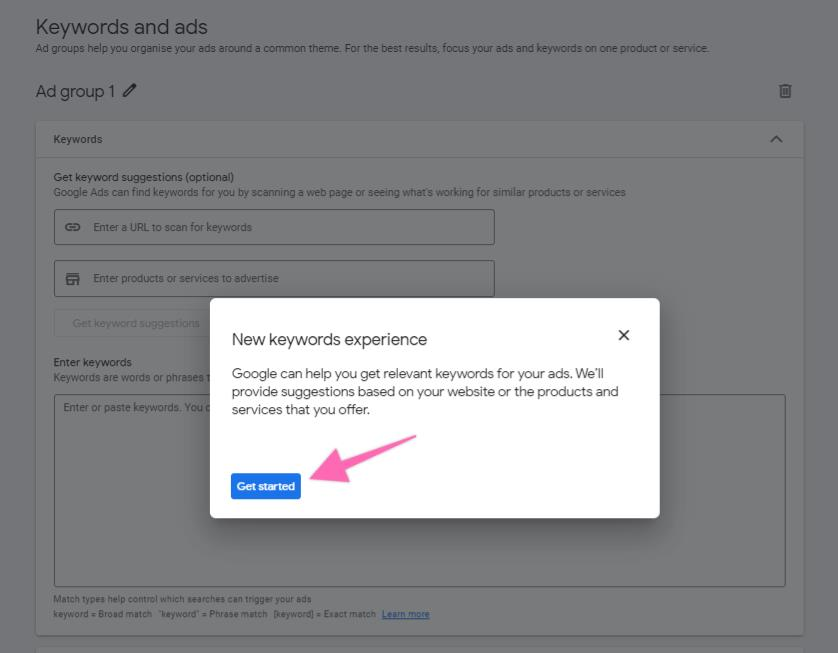
11. In the ad group page, Google will help to add relevant keywords to your ads. Click “Get started”:
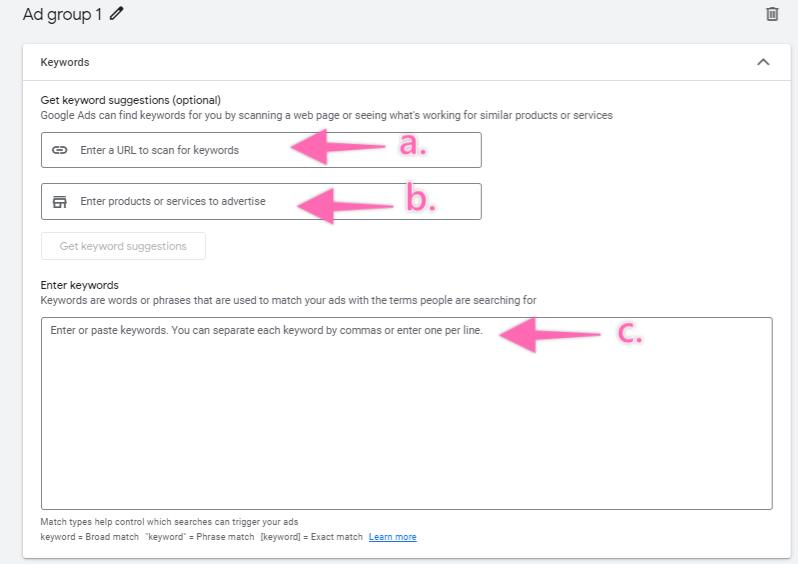
a. Copy and paste your company website link. Google will automatically suggest a few keywords by scanning your website.
b. Enter a few words that are related to your products or services. Click “keyword suggestions” when you are done.
c. Enter words or phrases that have been used to match your ads.
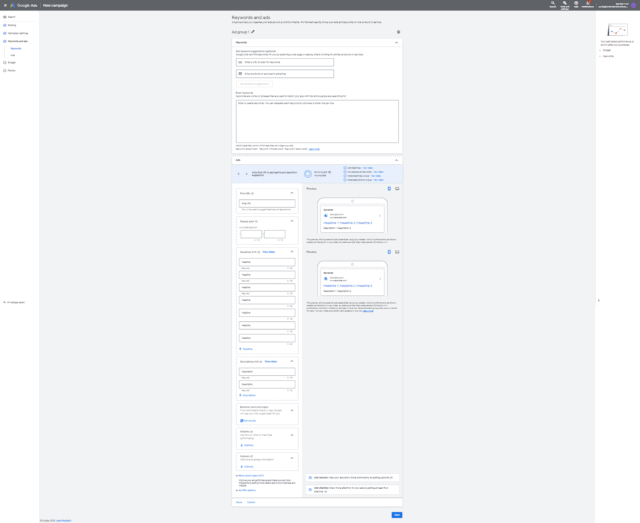
12. Next, add the details and creatives of your assets including the final URL, headlines, descriptions, business name and logos, site links, and callouts. You should be able to see a preview on your right. Choose any ad display and device to preview as shown below:
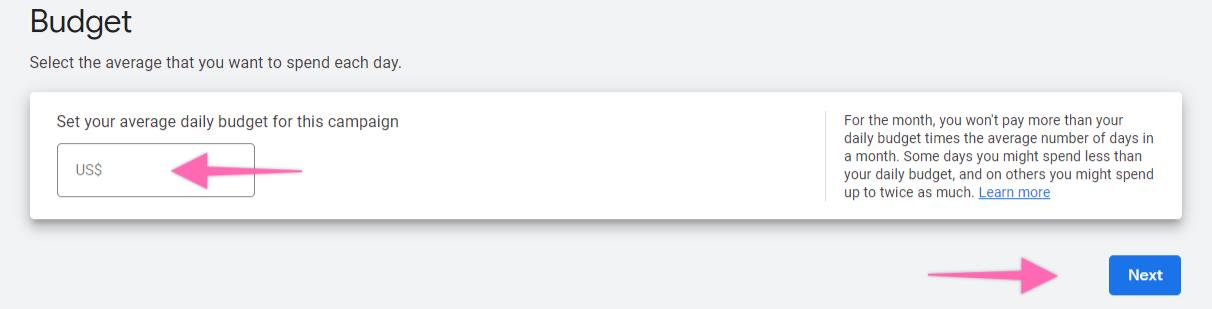
13. On the budget page, key in your average daily budget and click “Next”.
14. Finally, Google will review your campaign settings. Click “Publish campaign” on the bottom right corner of the review page.

15. Now that your dummy campaign has been published, you can enable auto-tagging. Click on the Google Ads logo in the top navigation bar:

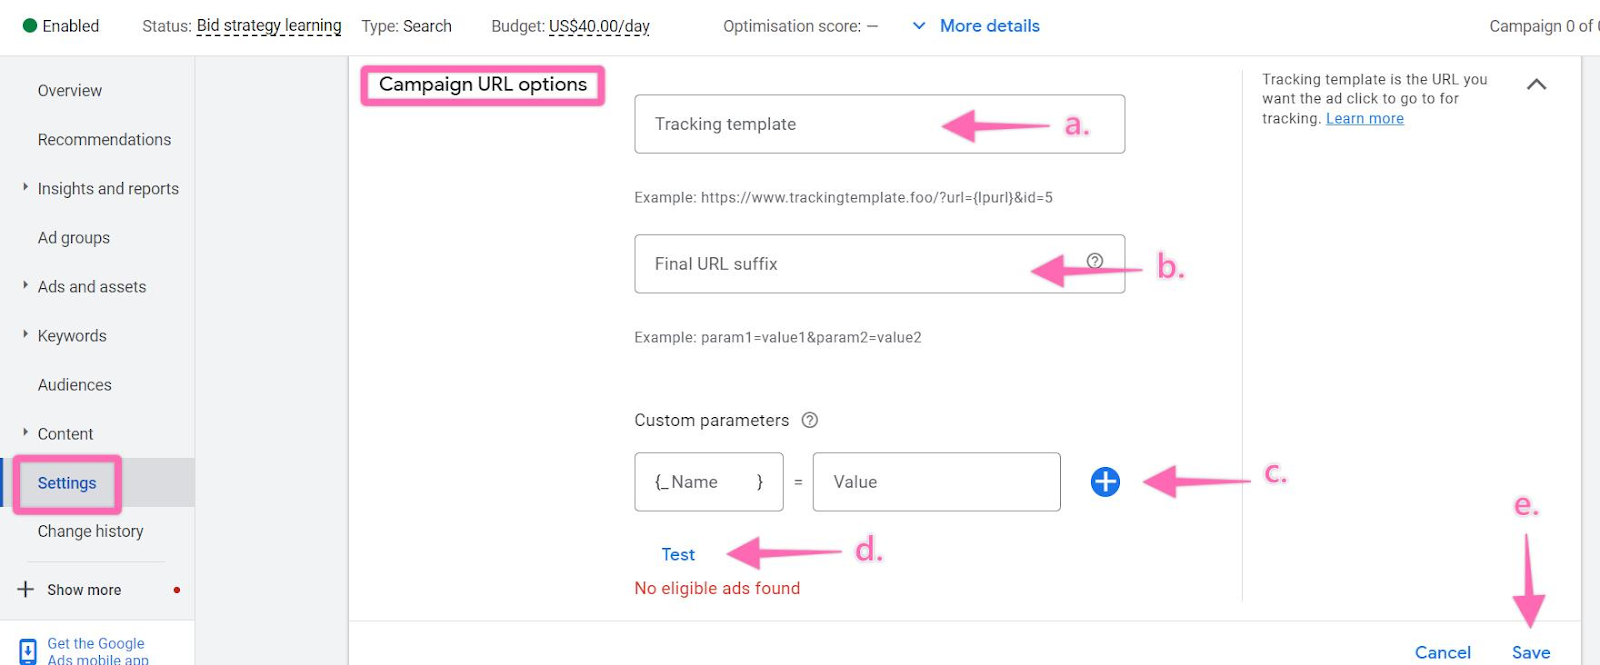
16. On the sidebar click “Settings” → “Campaign URL Options”.
- Enter the landing page URL for your campaign.
- Enter the final URL suffix. This field allows you to enter parameters that will be attached to the end of your landing page URL in order to track information.
- Customize the parameters.
- Test it to check that your tracking is set up correctly.
- Click “Save”.
17. [NEW] Next, another recommendation would be to activate “Dynamic Search Ads”.
This setting uses your URLs to automatically create ads to match people’s searches. Enter your website URL and preferred language and click “Save”.
That’s all! You should start seeing your Google Ads traffic information inside Google Analytics in the first 24 hours after your ads have started running.
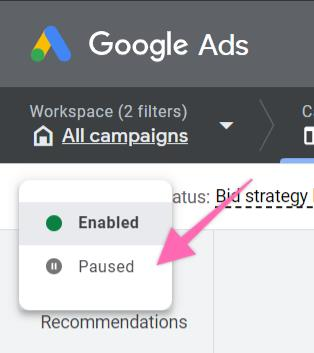
Once done, make sure to pause/remove the dummy campaign. You can pause the campaign from your ad campaigns page in the top left corner.

Related Resources
Want Access To More Digital Marketing SOPs Like This?
If you'd like to get more digital marketing task done in-house (or DIY) check out our project management suite.